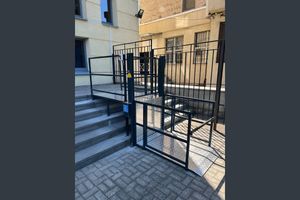
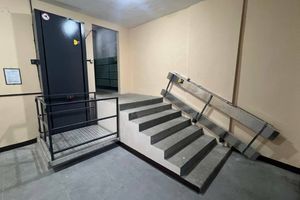
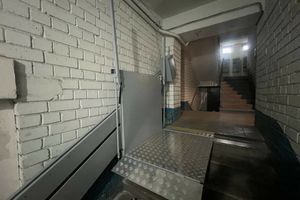
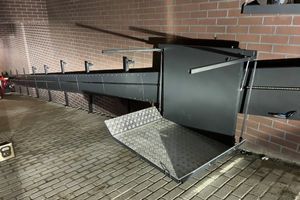
A single photo of a staircase often raises more questions than it answers. What is in front of it? Which way do the doors open? Is there a turn beyond the upper landing? A short, ordered set of photos is useful for an initial platform lift consultation. It helps explain the task and identify information that still needs checking on site.
This is not an engineering survey guide. Photos and approximate measurements help start the conversation, but do not confirm installation feasibility, the final specification or price.
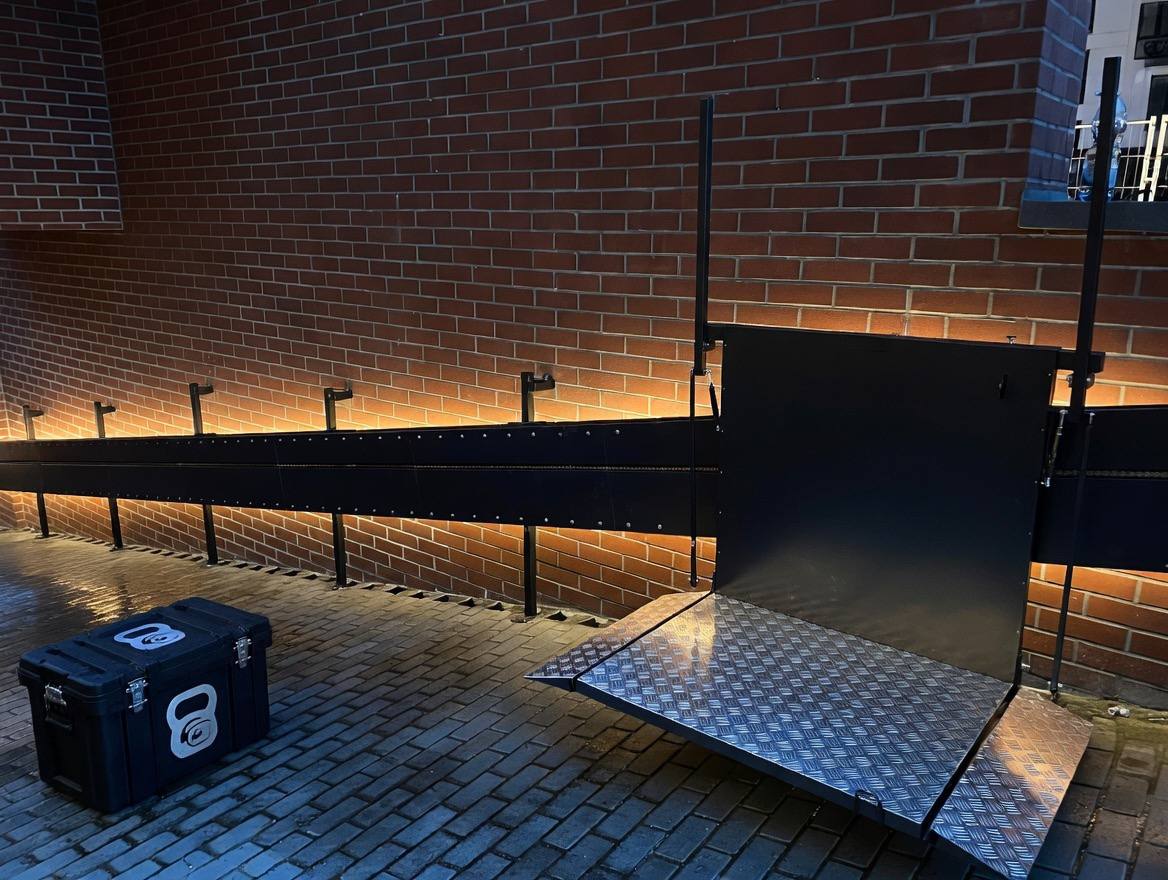
Show the route, not just the stairs
Start with an overall view of the entrance from the approach. Next, show the lower landing and stairs, followed by the upper landing and doors. If the route turns or passes through a vestibule, add a separate photo of each section. Take photos from a safe place where you can stand securely.
Keep walls, handrails, columns and other fixed features in view. Their positions help explain the space. Do not remove everyday obstacles from the picture just to make it look tidy: furniture or stored items may matter when discussing the route.
Add details that are hard to see from a distance
Photograph the threshold and doorway, the direction the doors open, any stair turns and projections beside the landing. If several entrances could be used, show each separately and identify the everyday entrance. For an outdoor entrance, include the canopy and surrounding area where present.
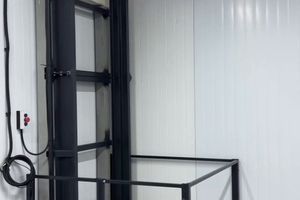
A close-up should complement an overall view. Without that context, even a sharp photo of a threshold does not show where it is. A vertical platform requires a clear view of the landings; an inclined platform also needs an understandable view of the stair route. Do not select equipment solely from a photograph.
Record measurements you can safely check
Where practical, note accessible measurements such as passage width, doorway width and the dimensions of a level landing. Give the units and the points between which you measured. A simple sketch with arrows helps distinguish the stair width from the space between handrails.
Label estimates as approximate. Do not calculate dimensions from photo proportions. Leave measurements to a specialist if they require going beyond a barrier, using a ladder, opening technical areas or approaching an unprotected drop. Do not inspect electrical systems or assess structural strength yourself.
Make the set easy for someone else to follow
Name files in route order: “01_approach”, “02_stairs”, “03_upper_landing”. Keep originals without filters or heavy compression. If you add annotations, include an unchanged copy too. Avoid faces, documents, apartment numbers and other personal information that is unnecessary for the consultation.
Add a short description: which entrance is shown, which levels need to be connected, whether the building will remain in use during the proposed work, and who can arrange site access. If you have a current plan, say whether it matches the building as it is today.
What happens after the first enquiry
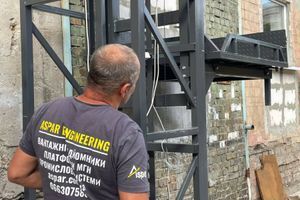
The material can help clarify questions and agree the next step. Exact dimensions, the technical solution and installation conditions require separate checks. Send your photos to the ASPAR team with a description of the task. They provide a concrete starting point for the consultation and help prepare for a site visit.
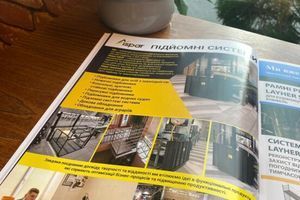
Equipment examples in the catalogue
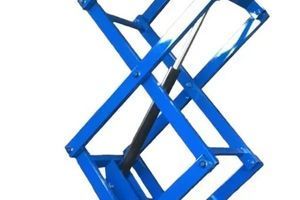
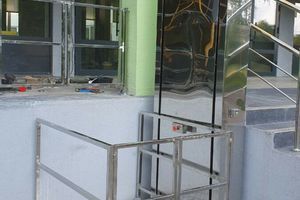
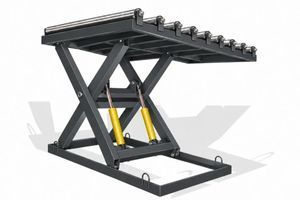
Compare these series by intended use. The model and configuration are selected for the requirements of your site.